Nails
How to Get Ombre Nails (and 19 Stunning Ways to Rock Them)These monochromatic manis are anything but boring |
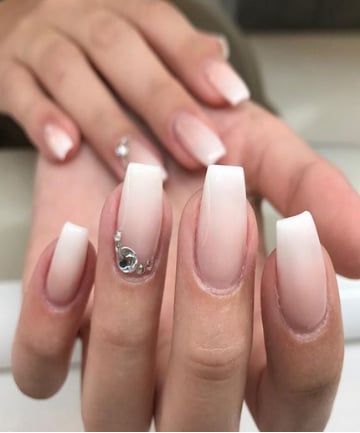
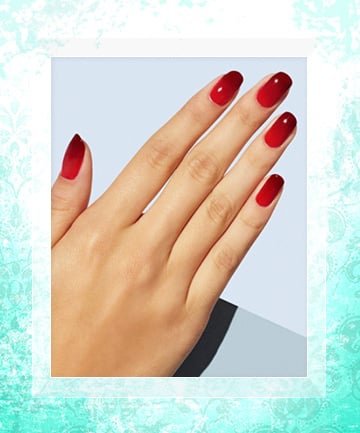
In all the their gradient glory, ombre nails are a unique way to elevate a basic manicure without an elaborate nail design. From monochromatic fades to sunset explosions, ombre nails appeal to the colorphile in all of us -- and are surprisingly easy execute. All you need is nail polish, a small sheet of paper, a nail sponge and a little confidence.
Already know how to ombre? Skip ahead too see our ombre nail inspiration gallery now >>
Ombre Nails How-To:
1. Prep your nails with a base coat (we like Butter London Nail Foundation Priming Basecoat, $18). This will lengthen the lifespan of your manicure.
2. Once dry, apply the lightest shade of your nail polish colors as your base. Pro tip: If you want a more vibrant ombre design, use a white nail polish as your base (using your lightest nail polish color creates a softer and more whimsical look).
3. To avoid getting polish on your fingertips during the next step (and having to ruthlessly scrub your fingers later), apply Vaseline to the cuticles and around your nails.
4. Next, create your gradient by painting your ombre nail colors in straight, horizontal lines side by side, slightly overlapping each other on a small piece of paper. You'll want to start with the lightest polish color at the top and descend into darker shades as you implement more polish colors (or vice versa, depending on the look you're going for). Two or three colors are the perfect number to create ombre nails.
5. Next, take your nail sponge and lightly press it down on your polish-painted paper. Then, take your polish-infused sponge and carefully stamp the polish onto your nails.
6. To ensure you have a blended gradient, gently roll the polish onto your nails by slowly rolling the sponge from left to right on your nail repeatedly until you reach your desired hue. In between presses, you can assess whether or not the ombre is dark enough.
7. Finish your ombre nails with a swipe of top coat to lock in your colors.
If you're more of a visual person, you can also watch this ombre nails tutorial.
Now that you know how to create ombre nails yourself (yeah, you fancy girl), it's time to get inspired with our favorite ombre nail looks. Here, 19 ombre nails to copy immediately (because now you totally can).
Image via @rubiknails
SEE NEXT PAGE: Amp Up the Sexy


