I usually log about five to six hours of sleep a night. I manage to be peppy and alert the following day, but I'm not immune to dark circles and puffy eyes. That's why I had to become a master at covering them up. I've learned that if my skin looks sallow and dull, it doesn't matter if I'm wearing a perfect cat-eye or the brightest lipstick in my makeup collection.
I always start with a hydrating, illuminating eye cream and let it sink in to prep my dehydrated under-eye area. Then I dot a creamy, peachy concealer from the inner corner of my eye to the outer edge and blend it using my ring finger or a damp makeup sponge.
If I look extra zombie-like, I use a thicker concealer that matches my skin tone underneath the peach concealer. I always set it with a light dusting of powder.
One of the worst feelings in the word: You catch a glimpse of your reflection in natural lighting and realize that your face is two shades darker than your neck. Or your bronzer isn't blended enough. Or your supposedly subtle highlighter is as sparkly as a teen vampire. You can avoid mishaps like these by simply applying your makeup in daylight.
And if you're going to be in photos, make sure you take a selfie first. You should check for two things: that your makeup shows up (makeup often seems to disappear in photos), and everything is properly blended -- especially if you're wearing translucent face powder, which can make you look like you just stuck your nose in a bowl of flour.
And if you're going to be in photos, make sure you take a selfie first. You should check for two things: that your makeup shows up (makeup often seems to disappear in photos), and everything is properly blended -- especially if you're wearing translucent face powder, which can make you look like you just stuck your nose in a bowl of flour.
Highlighter is a wonderful thing. When applied correctly, it can make your cheekbones pop and give you a luminous glow. If you use it incorrectly, you look like you lost a fight with a unicorn. The key is to keep it balanced.
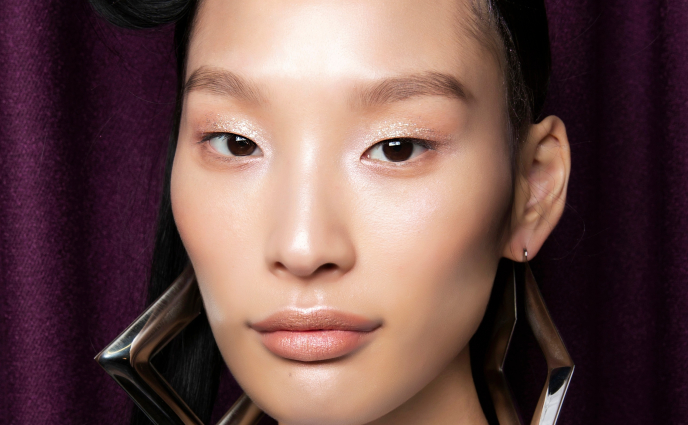
During the daytime, I apply shimmer only in the inner corners of my eyes to brighten them. If I wear a shimmery eye shadow as well, I make sure to define my crease with a matte shadow to create depth.
At night, I apply highlighter to the tops of my cheekbones and underneath my brows to get that lit-from-within glow, but I keep the rest of my makeup matte.
After you apply highlighter, always do the aforementioned once-over in natural light.
There are as many ways to apply mascara as there are detox recipes in a Gwyneth Paltrow cookbook, but I've found that the most foolproof method is this: "Stamp" your mascara onto the roots of your lashes, then sweep the product through to the ends using a zigzag motion. This defines your eyes and keeps your lashes from looking too heavy at the tips.
Discovering my eyebrows -- or learning how to define them -- was my biggest "aha!" makeup moment. When I add a little brow pencil, my eyes look bigger, my bold lipstick looks a million times better and, overall, my face just looks more balanced.
Twelve brow pencils and 36 brow waxes later, I've picked up a few tricks. I always use short, angled strokes to mimic the look of natural brow hair, and I start mid-arch, working my way to the "tail" of each brow. You want the outer half of your brows to be a tad darker than the inner half -- this opens up your face and your eyes.
Twelve brow pencils and 36 brow waxes later, I've picked up a few tricks. I always use short, angled strokes to mimic the look of natural brow hair, and I start mid-arch, working my way to the "tail" of each brow. You want the outer half of your brows to be a tad darker than the inner half -- this opens up your face and your eyes.


