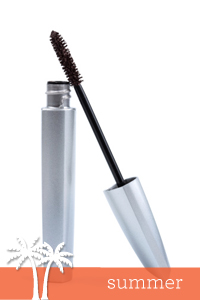
 I've complained before about my anemic, pathetic excuse for eyelashes and my search for something -- anything -- that would help them stand up and get noticed. But, despite having tried pretty much every single, solitary mascara ever released to market, I've never been able to get the long, thick lashed look I covet.
That's when I realized (duh) that maybe I was just applying the mascara in a way that wasn't helping it do its job? To find out I consulted my co-worker Lola, who is the ultimate makeup maven. Turns out I have been going about this whole mascara application process the entirely wrong way. Lola gave me a few pointers and it was as if the eyelash fairies flicked their little wands and bestowed upon me some pretty awesome lashes.
Want help with your little wisps, too? Here's what you have to do:
Step 1: Begin with clean, dry lashes. Make sure any makeup remover is wiped totally away.
Step 2: Use an eyelash comb to separate lashes. This will help to prevent clumping and encourage the mascara to coat each individual lash.
Step 3: Open the tube (these days I alternate between CoverGirl NatureLuxe Water Resistant Mousse Mascara, $8.49 and Clinique High Impact Curling Mascara, $14.50) and swipe any excess or globs from the wand onto a tissue. Place your elbow on a hard surface to ensure your hand will be as steady as possible.
Step 4: For the first coat, hold the wand vertically and draw the mascara up and onto the lashes -- this will help them to look longer. For the second coat (to be applied 2 to 3 minutes after the first), hold the wand horizontally and apply the mascara from the roots up in a back and forth sawing motion. This will help them to look fuller.
Step 5: Use your eyelash comb to separate any lashes that may have fused.
Step 6: Clean up any smudges -- no matter how small -- using a swab.
And there you have them. The six simple steps that made all the difference in the world for me and my (formerly) puny lashes.
Want tips on looking your very best in every photo? Watch this video.

