How to:
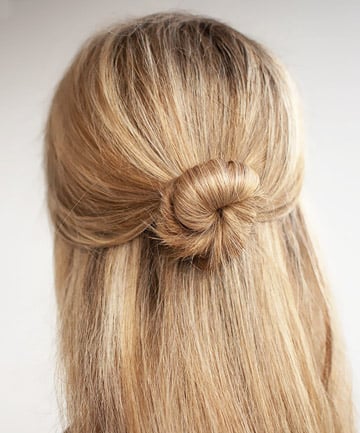
1. Start with clean, blow-dried, straightened hair. This is the workplace, ladies. Time to get our sh*t together.
2. Using a soft-bristle brush, brush hair back into a mid-height ponytail. The hair on either side of your head should sweep over just the very top of each ear. If you have bangs, feel free to leave them loose in the front.
3. Secure the ponytail in the back of your head with a mini clear elastic. Then twist the ponytail, curling it around itself to create a tight bun. Secure it to the back of your head with a few bobby pins the same color as your hair.
4. Mist the bun with a medium-hold hairspray, and whip out your spreadsheets. Image via Hair Romance
How to:
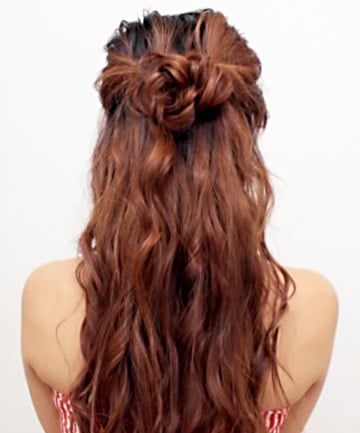
1. This romantic hairstyle creates a half bun in the shape of a flower. Start by curling all of your hair with a 1-inch barrel curling iron, alternating the sections of each wave to create a tousled look. When you're finished, break up the curls with your fingers.
2. Grab two small sections from either side of your head and secure them together in the back with an elastic.
3. Create a small opening in your hair just above the elastic, then flip the ponytail up and through the hole to create an inverted "topsy" ponytail.
4. Braid the ponytail until you're a few inches from the end (a regular old braid will do), and secure with a mini clear elastic.
5. Yank tiny sections of the braid outwards to create the "petals" of the flower.
6. Rotate your braid inwards, up towards your head to create the circular flower shape.
7. Secure the flower bun to the back of your head with a few bobby pins, making sure to pin it from underneath so the pins remain hidden. Image via x3THuha
How to:
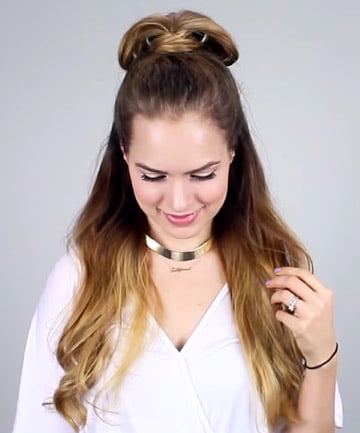
1. This cute chignon version of the half bun is perfect to flaunt over mimosas and blueberry pancakes. Start by curling the bottom half of your hair with a 1-inch curling iron to create flirty, messy waves.
2. Grab an elastic, and gather all the hair above your ears into a high ponytail. Turn your ponytail into a loop by not pulling the ponytail all the way through the elastic the last time around. The bigger the chignon (or loop) you want to end up with, the more hair you'll pull through.
3. Take the tail that's left over, and wrap it around the elastic to cover it up. The longer your hair, the more times you'll need to wrap it around. Secure it at the base of your ponytail with a bobby pin.
4. Now you'll have a big loop in the back of your head. Bobby pin it to your head from the inside of the loop, so the pins are hidden. Voila — adorbs. Image via Kayley Melissa
How to:
1. This beachy hairstyle is perfectly suited to girls with zero hair skills, who still want to look cute on Instagram. Start by curling hair all over with a 3/4-inch curling iron and following up with a salt spray to create a tousled look. (Try R+Co Rockaway Salt Spray, $25.)
2. Take a very small section of hair from the back and use a ponytail holder to create a loose loop (aka, a ponytail that you don't pull all the way through the elastic the last time around). There should still be plenty of hair draped around your face.
3. Place your favorite braided hair bands around your head, so the hair loop falls over top of the hair bands in back. Now, enjoy life as a bohemian goddess.
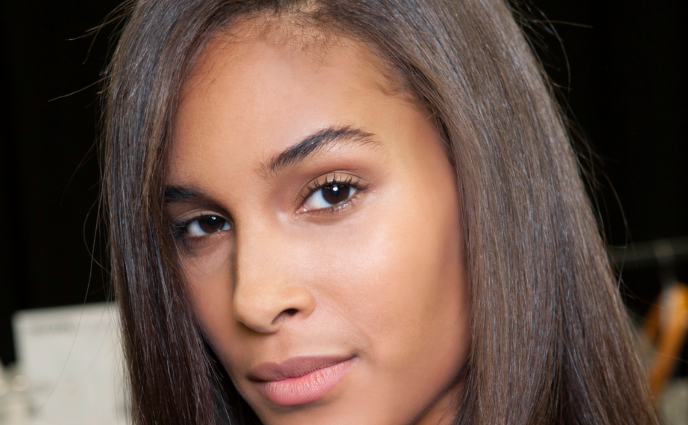
Image via Imaxtree
How to:
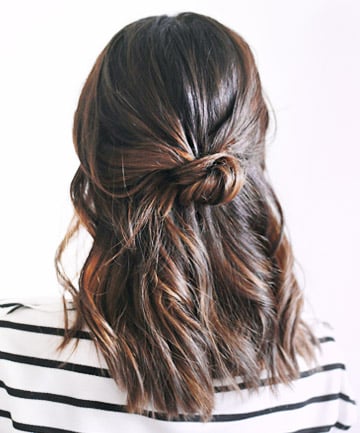
1. Start by loosely curling hair from the ear down with a 1-inch curling iron. Mist with a flexible hold hairspray.
2. Take a section of hair from above each ear and bring both sections to meet at the back of your head at mid-height level.
3. Twist the two sections together to create one larger section and twirl it around one finger to create a neat little knot. 4. Tuck of the ends of the knot underneath to hide them, and pin it all in place.
Image via Treasures and Travels


