How to:
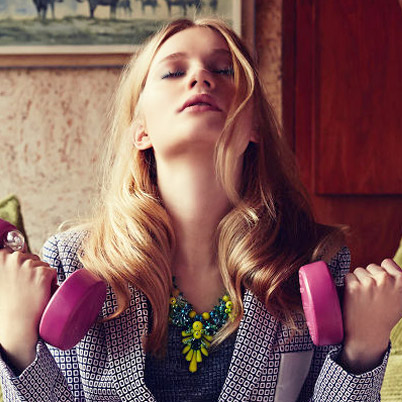
1. This beachy hairstyle is perfectly suited to girls with zero hair skills, who still want to look cute on Instagram. Start by curling hair all over with a 3/4-inch curling iron and following up with a salt spray to create a tousled look. (Try R+Co Rockaway Salt Spray, $25.)
2. Take a very small section of hair from the back and use a ponytail holder to create a loose loop (aka, a ponytail that you don't pull all the way through the elastic the last time around). There should still be plenty of hair draped around your face.
3. Place your favorite braided hair bands around your head, so the hair loop falls over top of the hair bands in back. Now, enjoy life as a bohemian goddess.
Image via Imaxtree
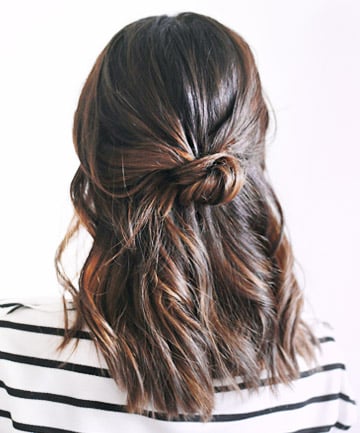
How to:
1. Start by loosely curling hair from the ear down with a 1-inch curling iron. Mist with a flexible hold hairspray.
2. Take a section of hair from above each ear and bring both sections to meet at the back of your head at mid-height level.
3. Twist the two sections together to create one larger section and twirl it around one finger to create a neat little knot. 4. Tuck of the ends of the knot underneath to hide them, and pin it all in place.
Image via Treasures and Travels
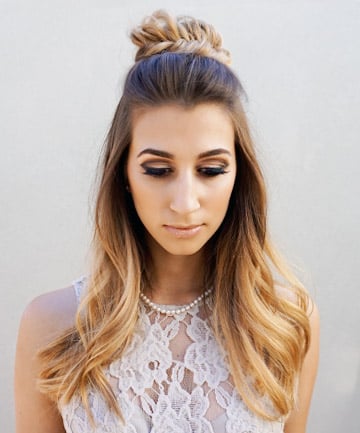
1. This is a formal occasion, gals. Which means this look is going to take a little extra work. Deal. Start by curling hair with a 1 1/2 inch iron, starting from mid-shaft down. Add volume and hold by applying a dry finishing spray, such as Kevin Murphy Doo.Over Dry Powder Finishing Hairspray, $27.50, evenly throughout hair, focusing on the roots.
2. Using a rat tail comb, section off the hair on the top off the head into a nice clean rectangle section. Do this by creating three straight parts: one on either side of the head (in line with each temple) and one connecting them in back.
3. Comb the hair in your rectangle section back into a ponytail at the crown of the head, and secure with an elastic.
4. Turn the ponytail into a basic fishtail braid. (Fishtail tutorial here.) Secure the end with an elastic.
5. Gently pull sections from the fishtail braid outwards and upwards to make it fuller and more voluminous. Spray the braid with your dry finishing spray from before to add texture and hold.
6. To create your bun, wrap the fishtail braid around the elastic on top of your head, and pin it into place with a few bobby pins. Now go turn some heads.
Image via What Lola Likes
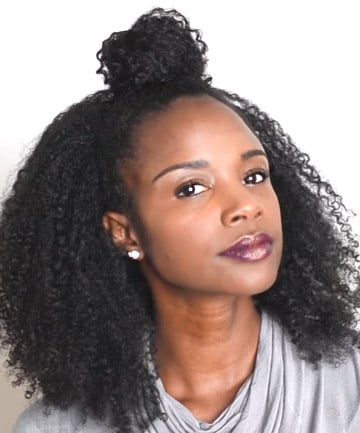
How to:
1. Working with an old wash and go hairstyle, use your fingers to part off hair in the front of your head, from the ears up. With this top front section parted off, loosely wrap a hair elastic around your hair in back to get it temporarily out of your way.
2. Dampen the hair in front around your forehead with a little bit of water, then apply a sculpting wax in the same place. (Try Garnier Fructis Style Pure Clean Finishing Paste, $4.29.) Work the wax into your hair with a soft bristle brush.
3. Pull that top front section into a superhigh ponytail right on top of your head, and secure with an elastic.
4. Divide the ponytail into two sections and wrap the sections around each other, coiling the hair into a polished bun. Pin the bun to your head with a few bobby pins.
5. Take the hair in back out from the elastic, and you're good to go.
Image via Nik Scott


