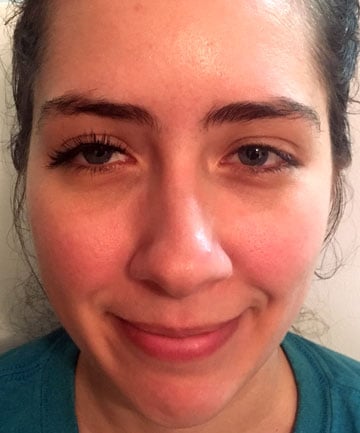
Although I'm pretty low-key when it comes to my everyday makeup routine, I almost never leave the house without applying mascara first. I'm lucky that my lashes are pretty lengthy on their own, but I like a little extra curl and volume (my fave mascara of the moment is Benefit Roller Lash Curling Mascara, $24). My blue eyes are my favorite feature, so I like to draw attention to them.
There are times when I do want to amp up the drama (like for all the weddings I have coming up in 2018) and I know that false lashes are the only way to get me there. Yet despite being a beauty editor, I'm basically clueless in this area. That's why I was so excited when I learned that magnetic falsies existed. They seem so easy! Could this be the solution to all my past fake lash fails? I put magnetic lashes to the test to find out.
Image via Christina Heiser
I've never been able to master false lashes, no matter how many times I've tried. The strips are always too big, the lashes never seem to actually stick and the removal process is a total nightmare (seriously, I've rubbed my skin raw trying to get off false lashes — that had been applied by a makeup artist). Since I've had virtually no luck applying falsies on my own, I had basically given up on them and relied solely on mascara to pump up my lash game. While I know my way around a mascara wand pretty damn well, there are only so many coats you can apply before your lashes start looking clumpy. Hence the need for falsies.
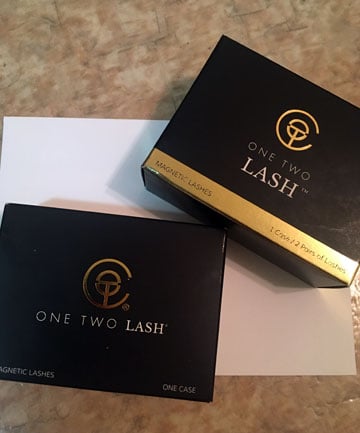
After hearing a fellow beauty editor rave about how easy it was to apply magnetic lashes, I knew I had to take a pair for a whirl. I contacted One Two Lashes and they very generously sent me two packages of lashes (a full lash set and a half lash set, which can be used as an accent at the outer corner of your eyes) along with links to a whole bunch of how-to videos (trust me, they're worth watching if you want to try this product out). To be honest, I was a little intimidated but I still figured that this would be easier than the regular ol' falsies.
Image via Christina Heiser
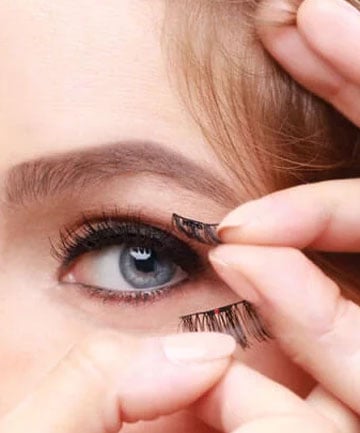
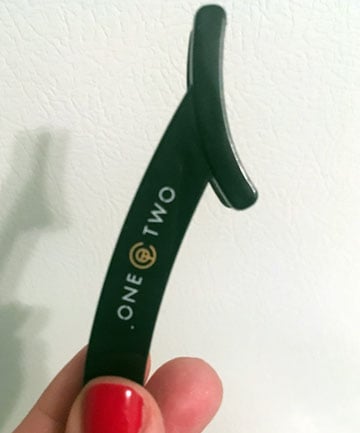
Traditional false lashes come with a strip that sits atop your upper lash line. One Two Lashes are different. These come with a magnetized strip that goes above your lash line as well as magnetized pieces that go under your lashes. The pieces on top and below connect, cushioning your lashes in between. There's no annoying glue and waiting for your falsies to dry. The strips are designed to fit any eye shape, so you don't have to worry about cutting them down to size. I tried the original style (in both full and half) but there are three others (enhanced lash, bold lash and extra bold lash). You have the option to apply them by hand or with a little applicator tool that comes with a set.
Image via One Two Lashes
Image via One Two Lashes
As you're now well aware, I am not very handy with fake fringe and my first few attempts using magnetic lashes didn't end in success. I started with the full lash set, which I applied by hand. I set the full lash strip as close to my upper lash line over my right eye as I could, holding it in place with my left hand. With my right hand, I picked up the tiny bottom piece and placed it under my natural lashes so that it would connect with the magnet. I finished by picking up the second tiny bottom strip and connecting it to the magnet closer to the inner corner of my eye. It took me about 15 minutes of playing around to get one eye done.
Image via Christina Heiser
Image via Christina Heiser
I actually found applying the half set of magnetic lashes a lot easier, since I only had two pieces to work with, not three. I decided to try my hand with the applicator tool this round. I placed the lashes on the tool and gently pressed it into my lash line. I had to play around a few times to get the placement right, but it only took me about five minutes per eye. Not so bad!
Image via Christina Heiser
Image via Christina Heiser


